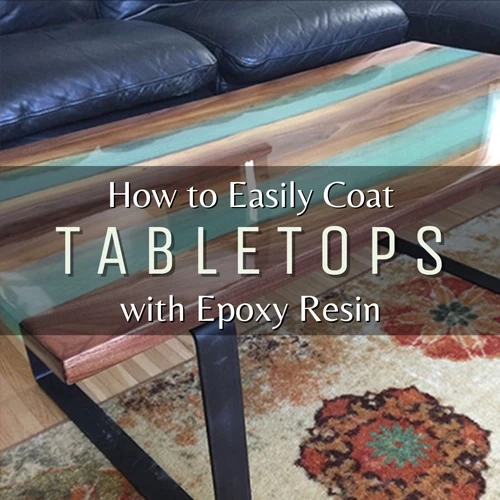
Coating Artwork with Epoxy Resin
You can use epoxy resin to add a glossy, professional-looking finish to all types of artwork! Epoxy resin works great as a topcoat on canvas, wood, ceramics, and much more. On this page, we'll teach you how to coat your artwork using Art 'N Glow Clear Casting and Coating Epoxy Resin.
-
Learn all about techniques for coating artwork with epoxy resin
-
Be inspired by videos, images, and tips from real people who are familiar with the ins and outs of applying a topcoat of epoxy resin to their artwork

What Is Coating Artwork with Epoxy Resin?
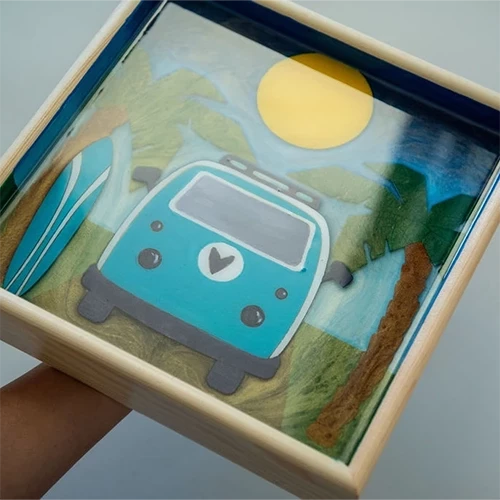
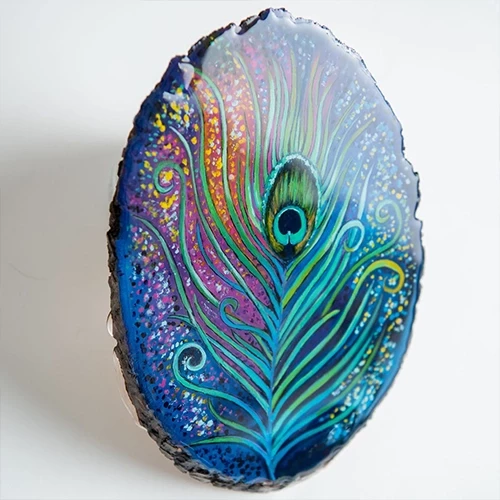
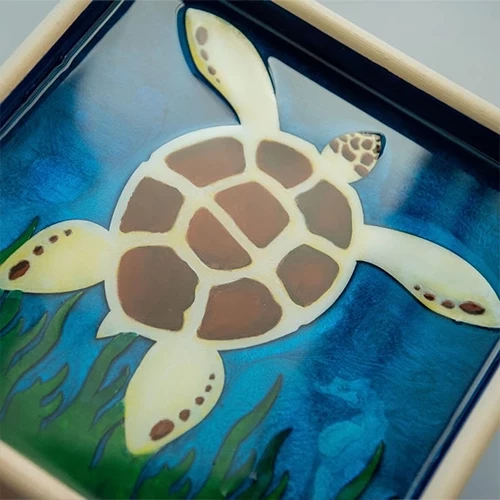
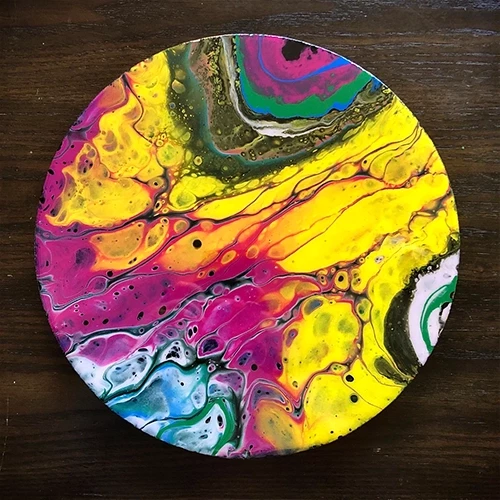
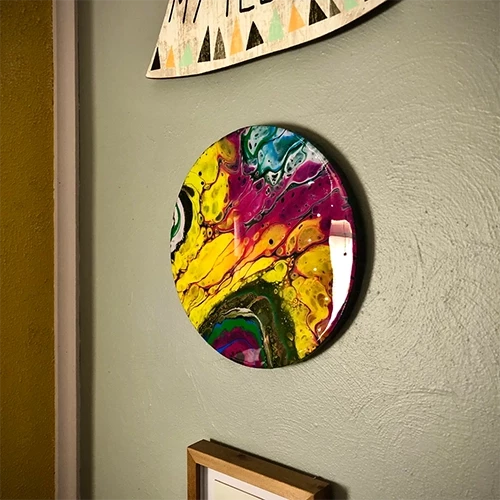
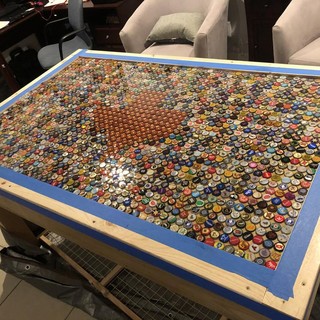
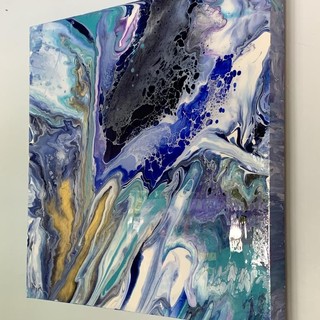
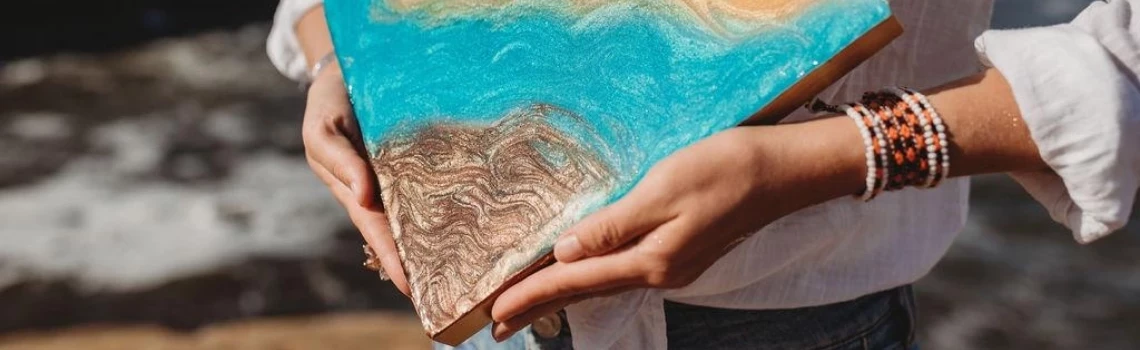
Take your artwork to the next level by applying a top coat of epoxy resin! Coating your artwork with a topcoat of epoxy resin not only adds depth and shine, but it also provides a layer of protection for your painting or other works of art. All you need to get started is your latest art piece and some Art 'N Glow Clear Casting and Coating Epoxy Resin! Continue reading to learn how to coat your next work of art, like these images.


Art by: @artebykristina
DIY Project: Coating Artwork with Epoxy Resin
Video by: Ann Upton
Materials to Coat with Resin
-
The painting or art you want to coat
-
Cups for measuring and mixing
-
Stirring utensil
-
Gloves
-
Protective eyewear (optional)
-
Painter's pyramids or cups for elevating your artwork
-
A level
-
A box or something similar to cover your resin with as it cures
Step-By-Step Instructions
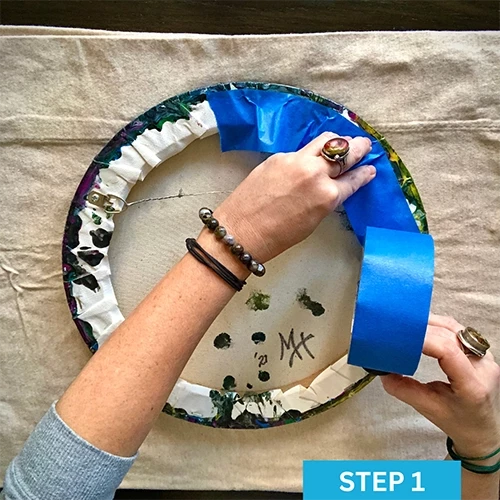
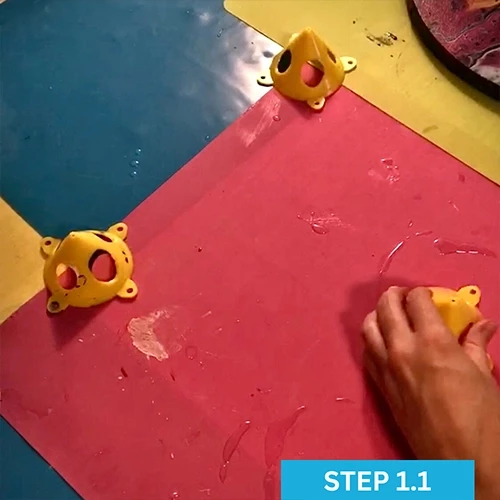
Step 1: Prepare your workspace. Before beginning this project, in a well-ventilated area, take care to ensure that your artwork is perfectly level in every direction and that it is elevated and well-supported. You can use painter's pyramids or cups to elevate your artwork. Note that in the video the paintings that are being coated are on stiff wood boards so it is okay to support them from the center, but that would not be okay for a canvas as it could distort the canvas. For canvas, you would want to support it from the edges instead of the middle, and the larger the canvas, the greater the potential for sagging from the weight of the resin. To protect your workspace, you can use plastic wrap, silicone mat, wax paper, or even a garbage bag to cover the surface of your table.
**Optional: Tape the edges of the raw side of the painting with painter's tape to keep resin from dripping onto the back of your artwork.
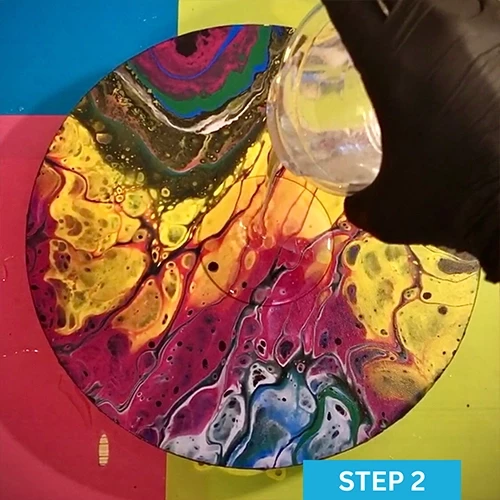
Step 2: Measure your resin and hardener in equal parts by volume, combine, and mix! Mix the resin and hardener thoroughly, scraping both the sides and the bottom as you stir. Mix for 3-5 minutes, or until there are no streaks in the resin. Pour the resin evenly over the surface.
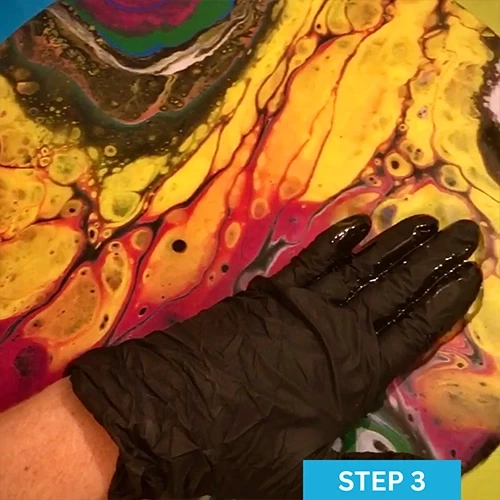
Step 3: Spread the resin to each edge and corner with your hands (while wearing gloves), or a popsicle stick. You can also coat the sides of your piece if you'd like.
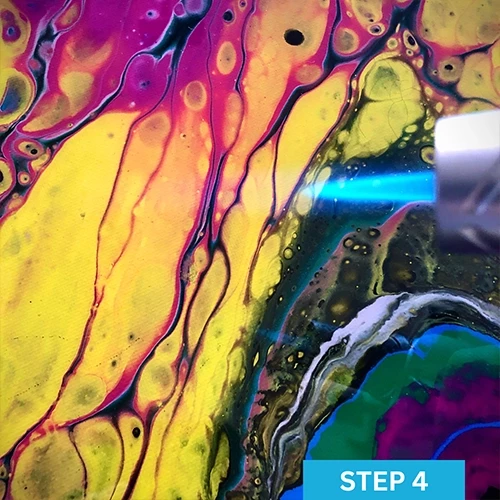
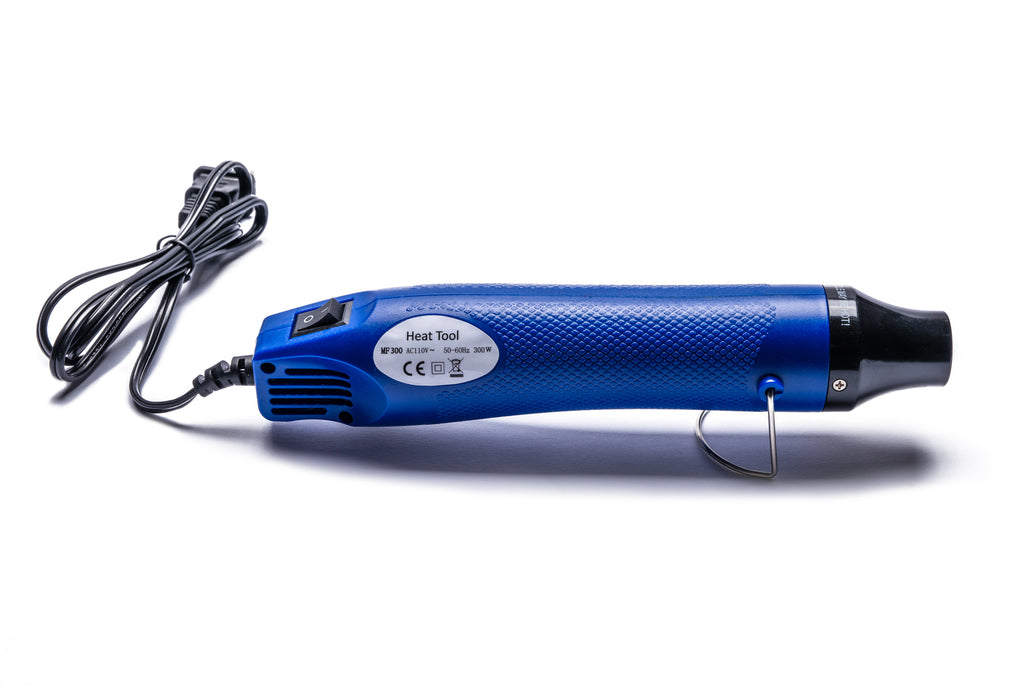
Step 4: Remove bubbles. To get rid of any bubbles that appear, use your artist's torch or heat gun on a low setting, and gently sweep 6-8" above the surface, always keeping it moving. Take care not to hold the torch in one place for too long, as this can burn the resin and result in discoloration.
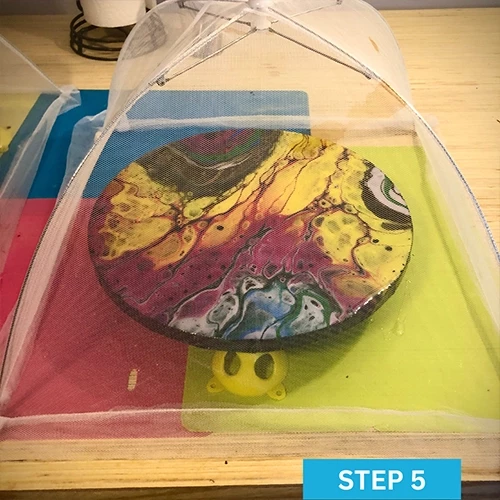
Step 5: Protect your work. While your piece cures, make sure you cover it so that no dust, dirt, or hair finds its way into the resin. Ensure the box or covering is clean before placing it over the project. After applying the resin, allow it to cure for 24-72 hours before handling.
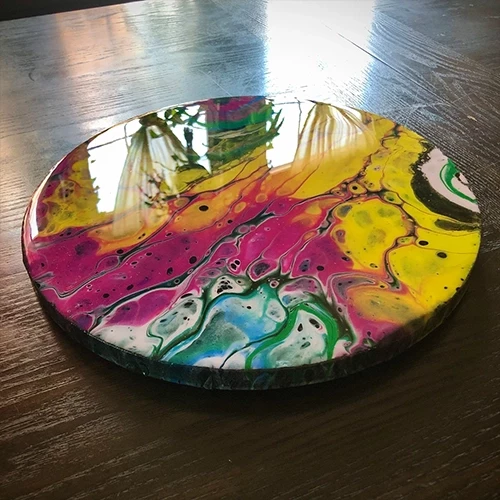
Art by: Megan Hogeman
What People Are Saying
This stuff was great! 10/10 would recommend. Is crystal clear, hardened easily, and bubbles were easy to get out with a torch. Definitely buying again!
- Elias G.
This resin is super easy to use. Great customer service, and fast shipping. Love this product and company!
- Patty S.
Casting & Coating Epoxy Resin
Commonly Used To Create With Epoxy Resin
Make Your Resin GLOW
Our glow in the dark powder is fantastic for adding a special touch to your resin creations. Whether you're making necklaces, bracelets, earrings, or other accessories, the addition of our glow powder is sure to take your work to the next level.
Eliminate Bubbles
Avoid those pesky bubbles in your finished projects! Quickly and easily eliminate bubbles in your epoxy resin art to give a beautiful glass-like finish with Art 'N Glow's Heat Gun.
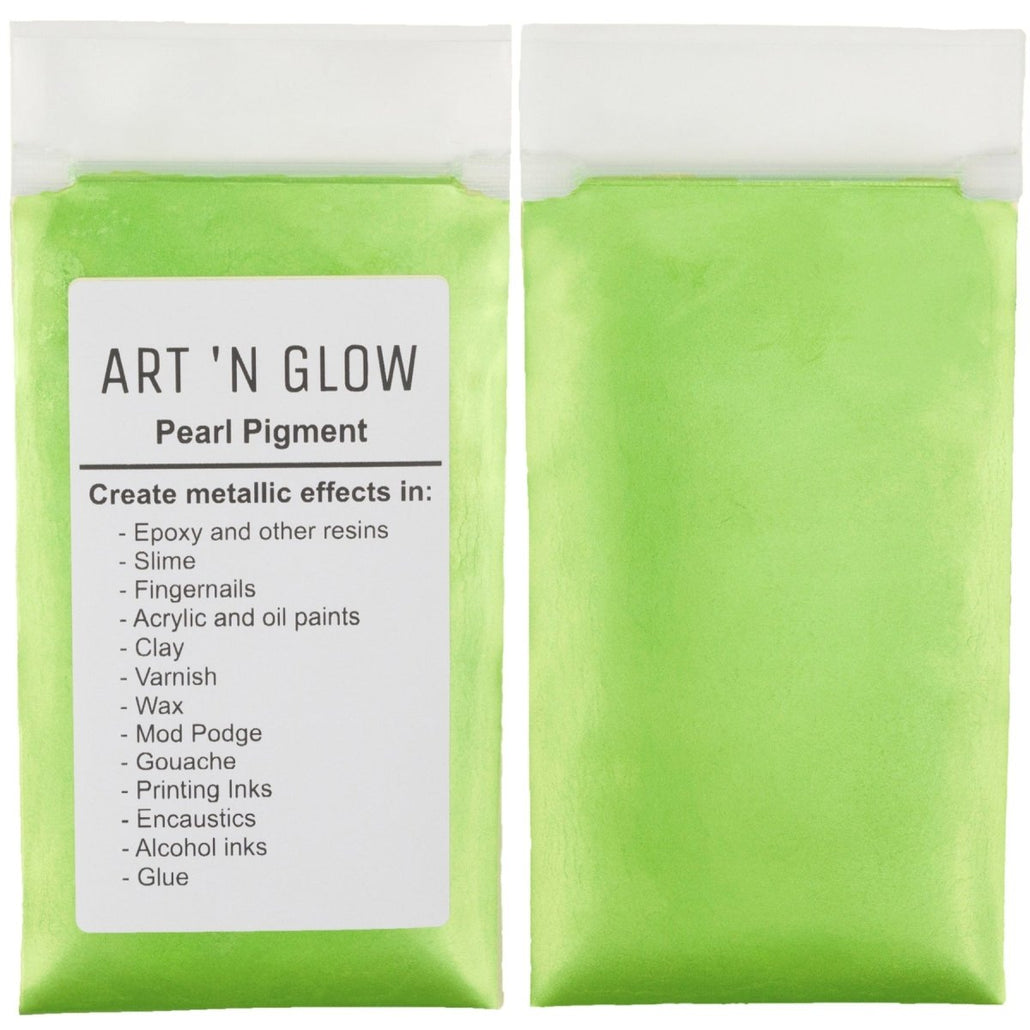
Pearl Pigments For Resin Artwork
Create resin artwork with epoxy resin and pearl pigments! A little pearl pigment goes a long way - just use about 1 gram per 1 fluid oz of epoxy resin. From fluid pours to casting, take your resin art to the next level and explore all of the beautiful colors we have available!

Glow Powder
Heat Gun
Pearl Pigments
Visit Our Blog For Project Inspiration


Want Free Stuff?
Join our email list to be notified of new project guides, special offers, free products and more!
Sign up now and receive a free Aqua glow powder sample!
Want to share your art with us?
Follow and tag us in your work to be featured on our pages!