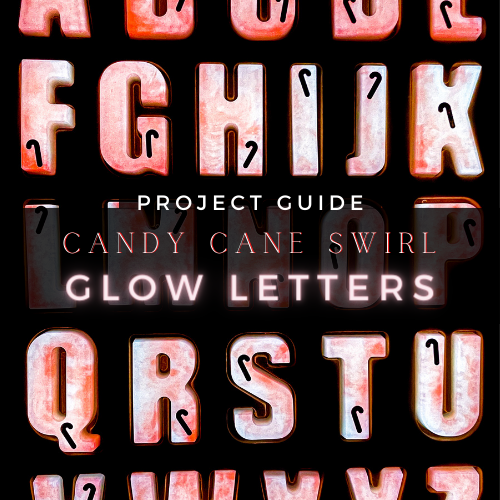
Holiday Cards That Sparkle and Shine

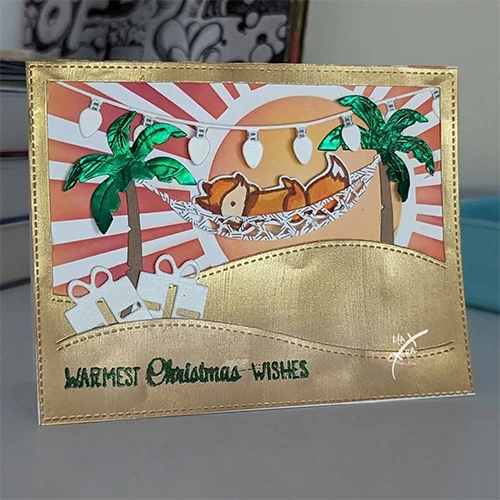
Crafting a festive card provides an opportunity to express your creativity while conveying heartfelt wishes to loved ones. Infusing your card with special radiant touches is bound to impress!
Follow along and enjoy the creative journey as you craft timeless mementos in this in-depth guide!
Artwork by @maxextra.inc
Let's get crafty!
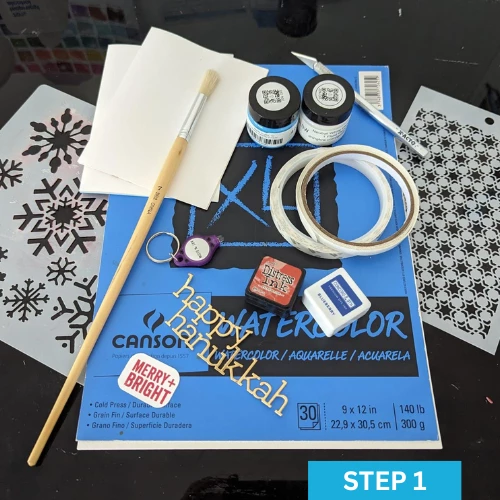
Materials to Make your Own Holiday Cards
-
Stencils (choose any design you like!)
-
Watercolor paper
-
White cardstock or any thick paper
-
Exact-o blade or scissors
-
Ruler
-
Stamp Ink & blending brush
-
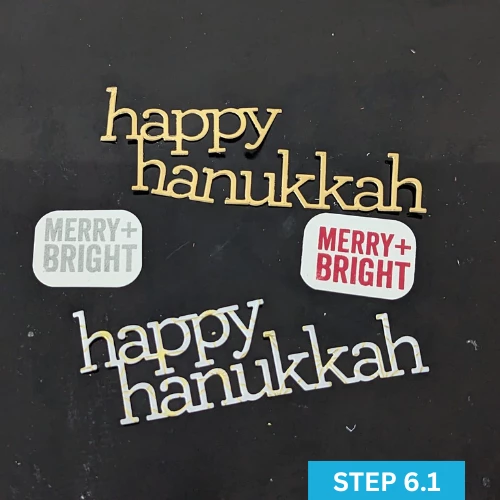
Sentiment cut-outs
-
Double face tape
-
Foam tape
-
Liquid glue
-
Painters Tape
-
Optional: light tack adhesive spray or sticky mat


Step-By-Step Instructions
Step 1: Cut out your card fronts. @maxextra.inc used a 9"x12" sheet of watercolor paper and cut two pieces of watercolor paper to size: 4.5”x6” (this gives you an extra 2 pieces to play around with).
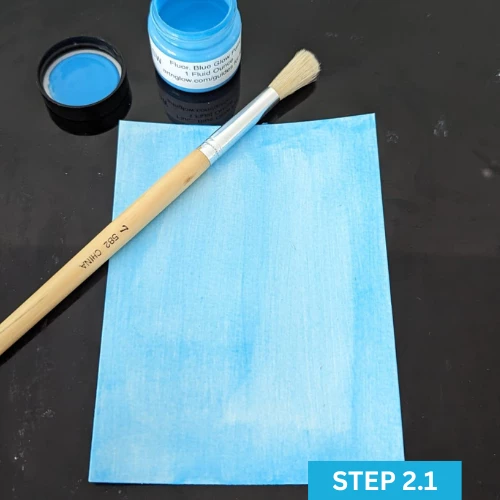
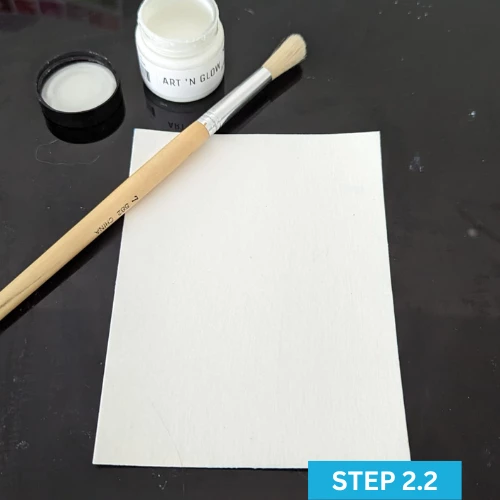
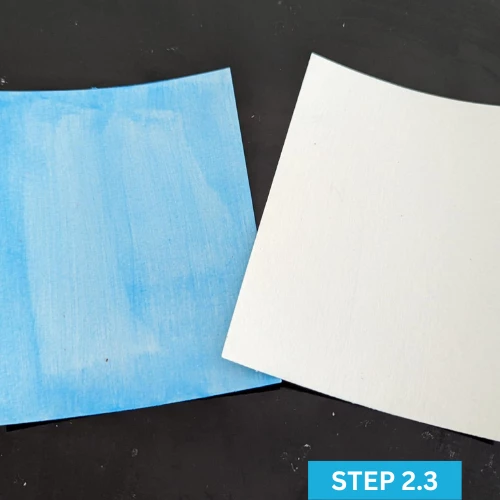
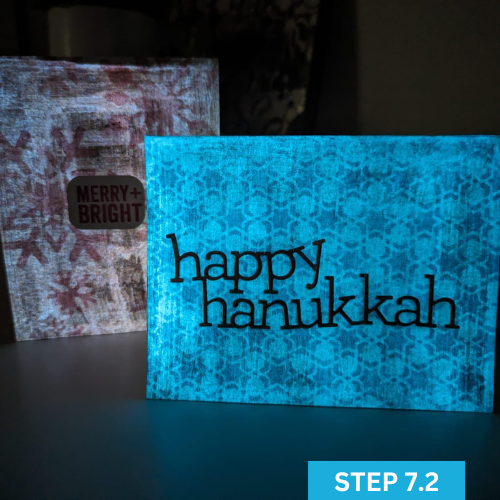
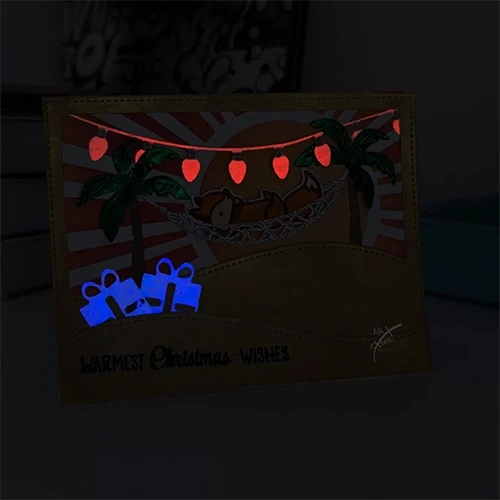
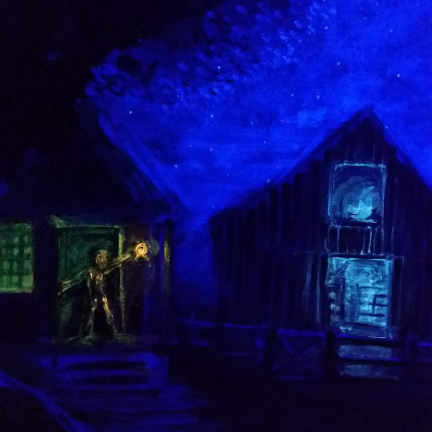
Step 2: Paint the card fronts. We recommend applying 3 coats and waiting 5-10 min between coats. Art 'N Glow Fluorescent Blue and Natural White glow paints were used for this project.
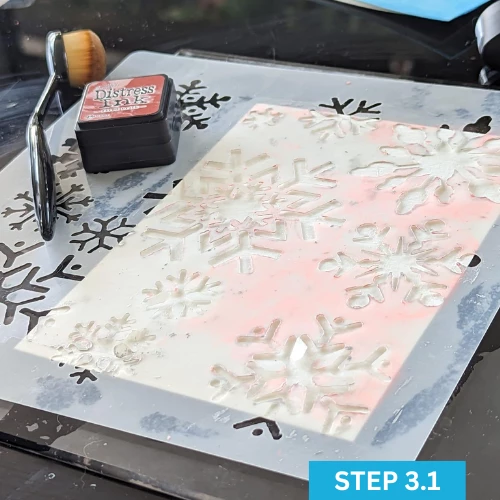
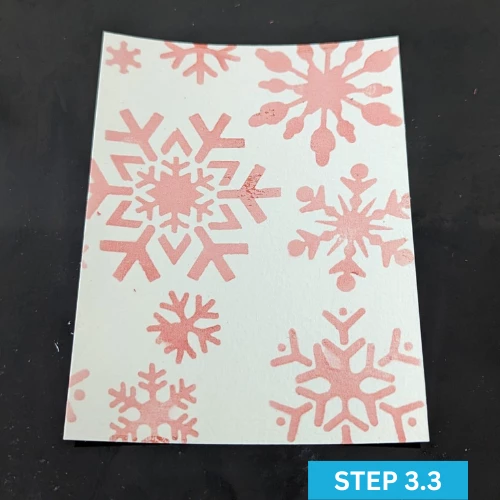
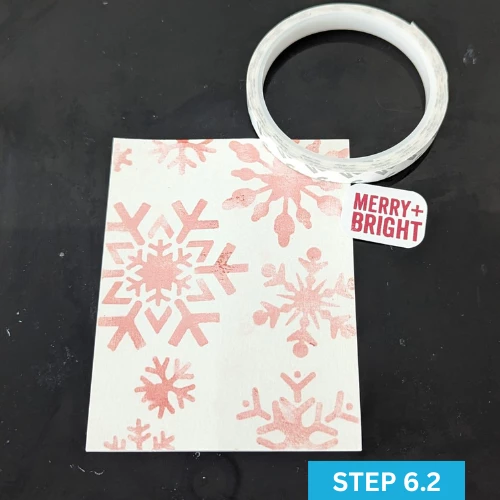
Step 3: Stencil your cards! Using stamp ink and a blending brush, layer your stencil over your painted paper. (You can use a sticky mat to hold the stencil down, painters’ tape, or light tack repositionable adhesive.) Brush the ink across the stencil until you are happy with the coloring. For this project, @MaxExtra INC. used Concord and 9th Blueberry over the fluorescent blue painted sheet and Jim Holtz Fired Brick over the neutral white painted sheet.
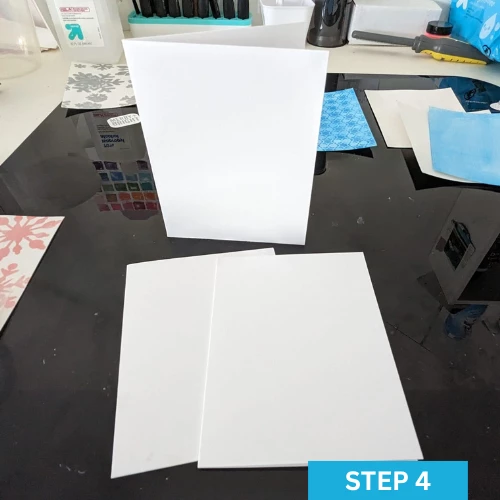
Step 4: Cut out card fronts and backs. Using some white card stock or thick white paper, cut out card backs to size: 8.5” x 5.5” (Crease and fold at 4.25”). Also, cut card fronts to size. Cut your dried stenciled card fronts to size: 4.25”x5.5”.
Step 5: Attach card fronts to card backs. Using double face tape or liquid glue attach card fronts to card back. You can have your card open horizontal or vertical!
Step 6: Decorate! Once your card fronts and backs are attached you can decorate your cards as you wish! Choose the precut sentiments of your choice to add to your cards. Using some foam tape and liquid glue, attach the sentiments.
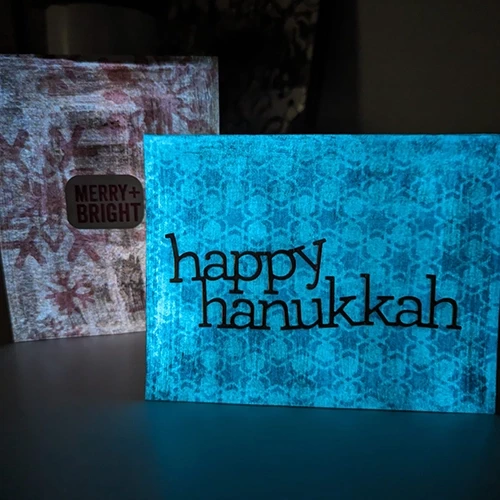
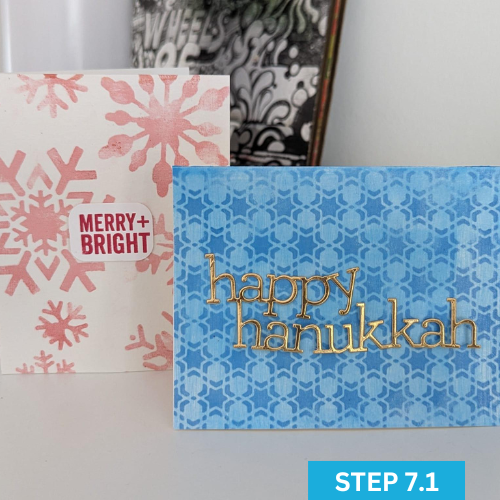
Step 7: You have created some simple glow in the dark holiday cards!
Keep the inspiration flowing! Check out @maxextra.inc on Instagram for more amazing personalized projects.
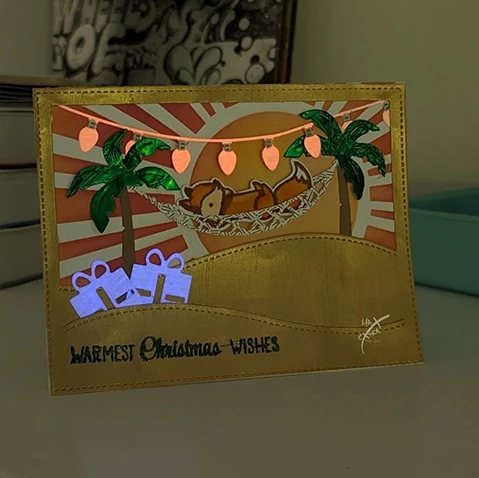
Artwork by @maxextra.inc
Perfect Glow Pairings
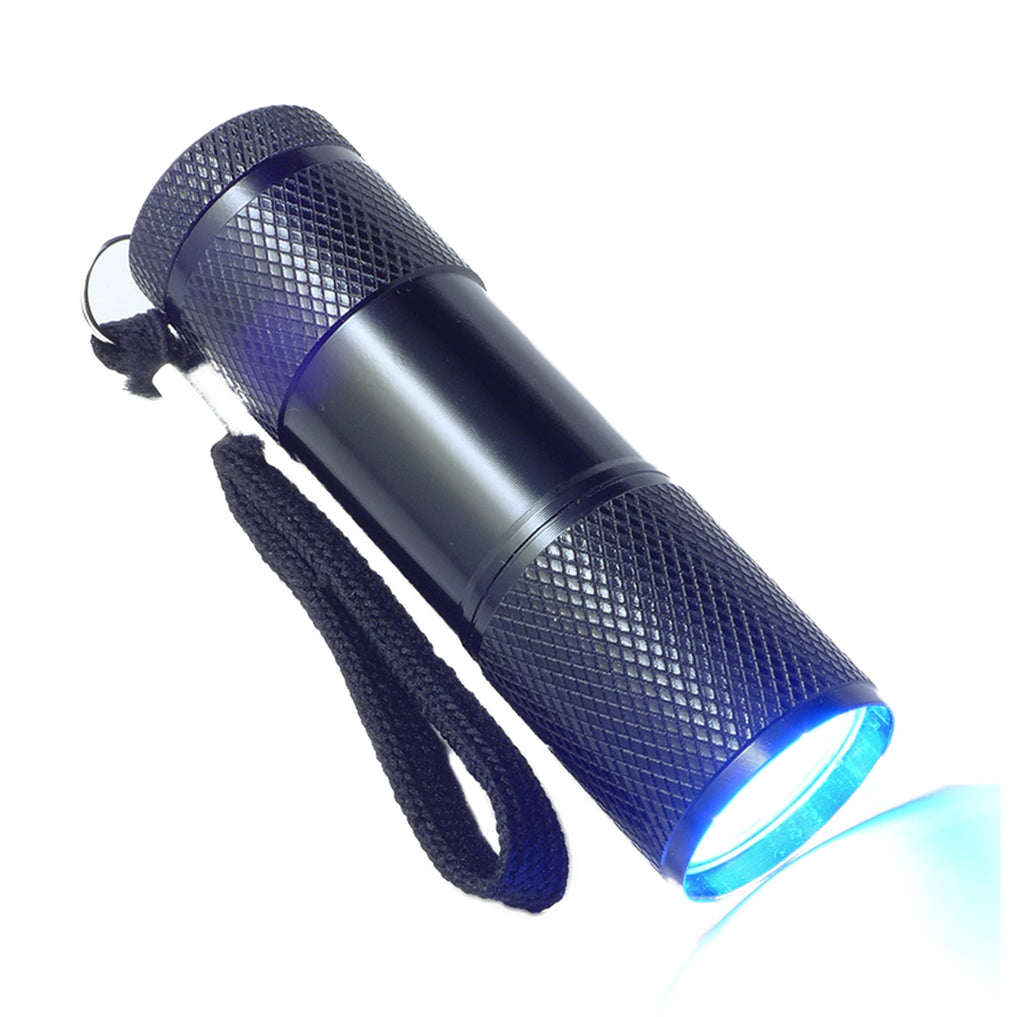
9 LED UV Flashlight
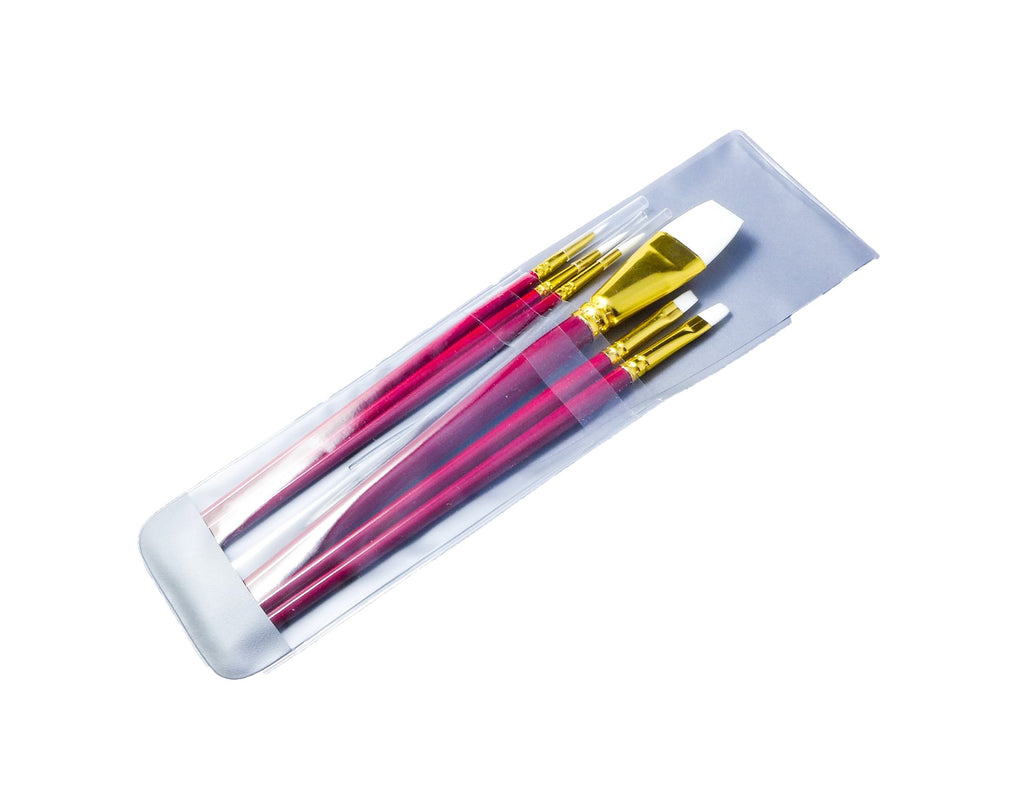
Short Handle Brush Set
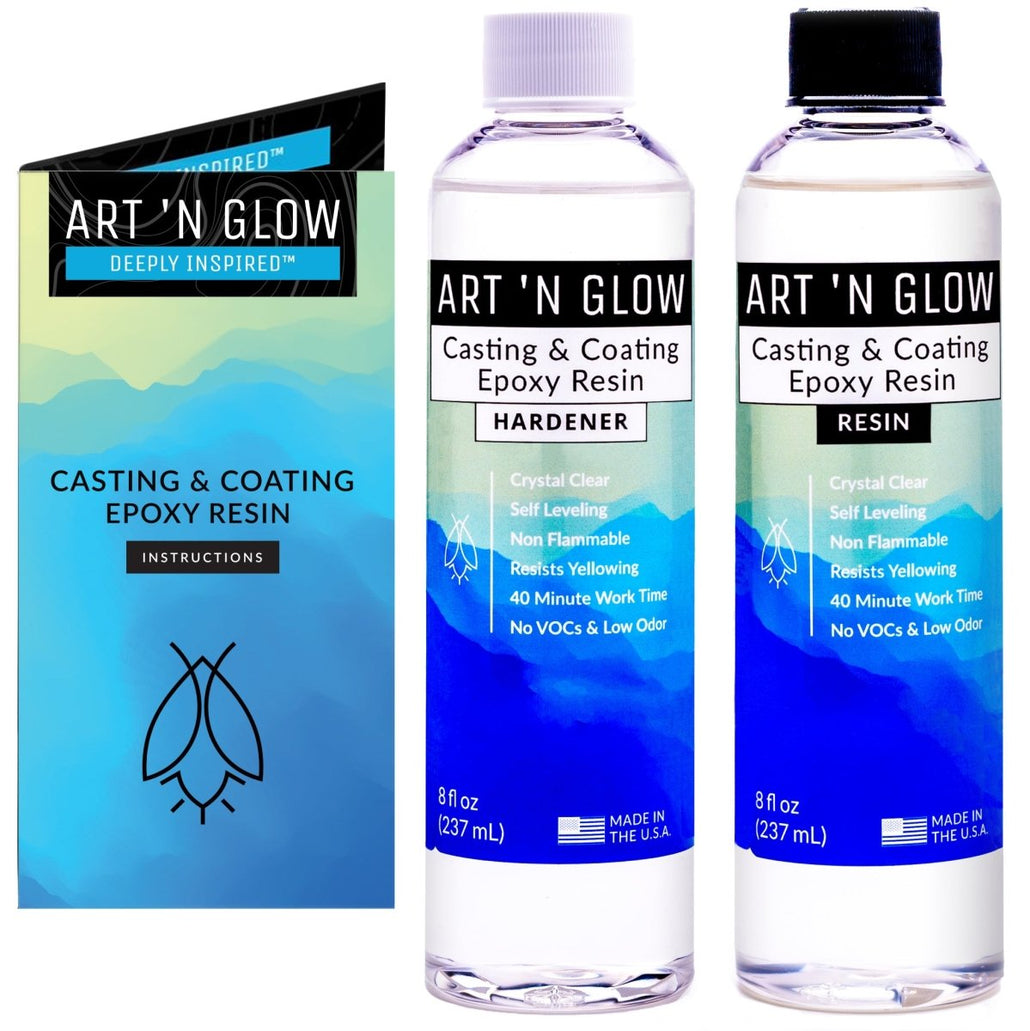
Clear Casting and Coating Epoxy Resin
9 LED UV Flashlight
Short Handle Brush Set
Clear Casting and Coating Epoxy Resin
What People Are Saying
Blue, like you have no idea.... blue . but blue glow. the bluest of blues that shimmers well into the dark dark night. perfect for my work, dries with a gloss finish, but can be mixed with many acrylic mediums.
- Michael A.

Amazing!
I love Glow in the dark paints! It's so easy to use, colors are vibrant, glows for a long time.
I highly recommend trying these paints if you want to spice it up and make your art more valuable.
- Artebykristina
Visit Our Blog For Project Inspiration
Want Free Stuff?
Join our email list to be notified of new project guides, special offers, free products and more!
Sign up now and receive a free Aqua glow powder sample!
Want to share your art with us?
Follow and tag us in your work to be featured on our pages!